Home » How to Build Your Own Hydroponic System at PNW Garden Supply
If you’re looking for hydroponic equipment, you’ve come to the right place. Packed full of hydroponic hardware and gardening goods, PNW Garden Supply is British Columbia’s one-stop hydroponic shop. From DWC buckets to flood and drain tables, there is no hydroponic system too complicated for the staff at PNW. If you have a specific system in mind, visit our team at your local PNW for tips on system construction, management, and maintenance. Or, read the following article to learn more about how to build your own hydroponic system at PNW Garden Supply.
Hydroponics is the science of growing plants outside substrates like soil, and typically involves the “working” of water to strategically satisfy the needs of growing plants. However, this definition can be used quite loosely, as a “hydroponic” garden can be described as any system that utilizes technology to irrigate plants that are not in soil. In this sense, even a relatively primitive drip irrigation system can be thought of as hydroponic. The main goal of hydroponic gardening is to manage the growth of plants by maintaining precise measurements of water and nutrients. With these goals in mind, gardeners can typically expect to save water, liquid nutrients, and labor while growing in a hydroponic system.
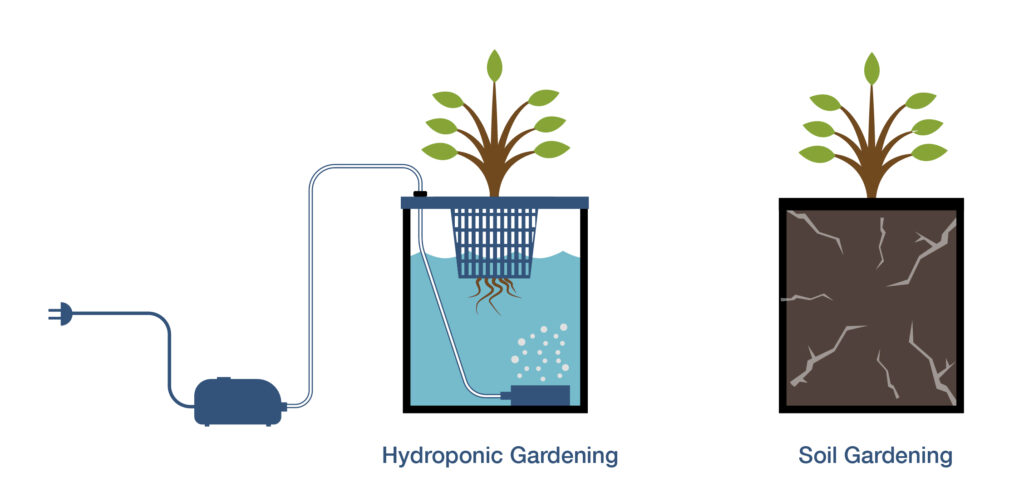
Now that you know the definition of hydroponics, let’s find out how to build some of the industry’s most popular systems.
Flood and Drain System
In a standard ebb & flow system, plants are stabilized on a table in various media, including peat, coco, rockwool, and/or hydro stone. Water is then pumped up to the table from a reservoir which saturates the medium and then is left to drain naturally through bulkhead fittings back into the reservoir. If you’re new to hydroponics, this system can be mastered after only a single crop. Interested in building a flood and drain system? Let’s get started!
Deep Water Culture System
Deep water culture systems house plants in large buckets or totes and immerses them completely in aerated water. These systems can be fabricated as standalone systems, or purchased as pre-made and assembled undercurrent systems from manufacturers like Current Culture H20. Want to build your own deep water culture system? Let’s get started!
Drip Irrigation System
Perhaps the easiest system to manage, a drip irrigation system can be installed from lengths of premium flexible hose, poly mainline, and/or PVC pipe. From the mainline, smaller, flexible tubing, commonly referred to as “spaghetti” hoses, are extended to the sites of plants for irrigation. Great for indoor and outdoor gardens, drip irrigation systems are affordable, efficient, and easy to install. Also, if your crop is suspended above the reservoir on a flood table, all the wastewater has an opportunity to be recirculated into the holding tank. Want to build your own drip irrigation system? Let’s get started!
Below we’ll show you how to build each of the hydroponic systems mentioned above.
Equipment Needed:
Click here to learn how you can build a Flood and Drain System
Drill holes into your flood table with a hole saw that matches the diameter of your bulkhead (thru-hull) fittings. Then, screw your bulkhead fittings into your table. Drill locations will be indicated by dimple marks of the furthest ends of your flood table.
Assemble your flood table above your reservoir. Any size of flood table will work, as long as the reservoir below is proportional to the size of your table. For example, Active Aqua’s 2′ x 4′ Low Rise Flood Table has a maximum water volume of 13.5 gallons. To make sure your plants have adequate access to water, ensure your reservoir is at least 3 times larger than your flood table. A 40-gallon reservoir would be ideal for the example above.
Connect your mainline pipe to your submersible pump. Then, lead and connect the opposite end of your pipe to your input bulkhead fitting. This will be where your nutrient solution floods the table. On the opposite side of the table, lead a pipe from your output bulkhead fitting down back into the reservoir. This will be where the nutrient solution drains back into the reservoir.
Connect your airline to both your air pump and stone. Submerge the stone into the reservoir and turn on the pump. Running your air pump 24/7 is a good way to keep your nutrient solution fresh and full of oxygen. In most cases, aerated nutrient solution will stay viable for around 7-14 days after mixing.
Plug your submersible pump’s power outlet into your cycle timer. Program your timer’s on/off cycles to regulate the flood/drain patterns of your system. Vigorously growing plants will likely require several flooding cycles per day. With younger plants, however, start slowly and monitor the drinking habits of your crop.
Click here to learn how you can build a Deep Water Culture (DWC) System
Punch/drill a hole close to the upper rim of your 5-gallon bucket and insert a ¼” grommet.
Feed the airline through the grommet and attach the outside end onto your air pump’s manifold. Then, attach the airstone to the adjacent end of the line and lay the airstone on the bottom of your bucket.
Fill your bucket with water and liquid nutrients. Then, fill your net pot with rinsed hydro stone and place the lid on top of your 5-gallon bucket.
Turn on your air pump. High levels of oxygen are required for success in DWC systems. So, for your system to function properly, a heavy and constant supply of oxygen must be pumped into your water source.
Equipment Needed:
Click here to learn how you can build a Drip Irrigation System
Drill holes into your flood table with a hole saw that matches the diameter of your bulkhead (thru-hull) fittings. Then, screw your bulkhead fittings into your table. Drill locations will be indicated by dimple marks of the furthest ends of your flood table.
Assemble your flood table above your reservoir. Much like the flood and drain build, ensure your reservoir is proportionately larger than your flood table (approximately 3 times larger).
Connect your mainline pipe to your submersible pump. Then, lead and connect the opposite end of your pipe to your input bulkhead fitting. Screw on a male insert thread fitting into your input bulkhead fitting and install your poly mainline/hose onto your table. Depending on the layout of your system, your mainline hose may require elbow, tee, or cross fittings to complete its route. Once your line is complete, plug the end of this hose with the appropriate fitting. As your pump brings water up from the reservoir, this hose will pressurize and feed the attached hose and drip emitters. Finally, lead a pipe from your output bulkhead fitting down back into the reservoir. This will be where the nutrient solution will drain back into the reservoir.
Punch small holes into your mainline pipe and insert the ¼” barbed adapter fittings. From there, connect the lengths of ¼” spaghetti line to the fittings and extend the hose to the base of your plants. Lastly, install drip emitters to the ends of the spaghetti line. Alligator stakes/clips can be used to stabilize the ¼” line next to your containers.
Connect your airline to both your air pump and stone. Submerge the stone into the reservoir and turn on the pump.
Connect your submersible pump to a timer to automate your crops’ irrigation cycle.
Congratulations on building your own hydroponic system! Want to learn more about what can be found in-store at PNW? Browse our online store, or call your local PNW for more information on all the products available at Pacific Northwest Garden Supply.
 TrolMaster Hydro-X Environment Control System
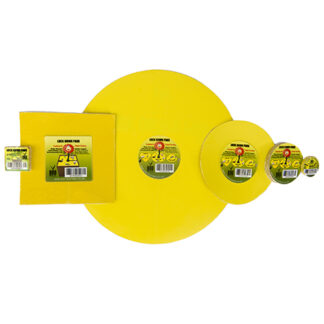 Lock Down Pads
$4.75 – $12.99Price range: $4.75 through $12.99
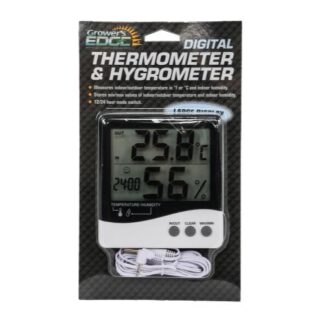 Grower's Edge® Digital Thermometer & Hygrometer
$39.99
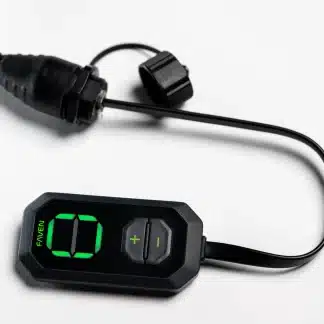 Faven Mini Controller
$84.19
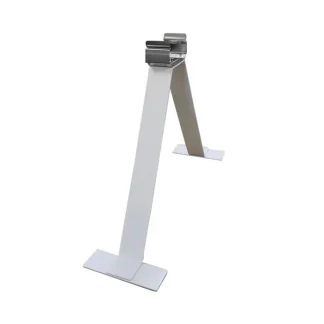 Faven Stands 8" & 12"
$31.99
 Faven Adjustable Stands
$33.56
 TrolMaster Hydro-X Environment Control System
 Lock Down Pads
$4.75 – $12.99Price range: $4.75 through $12.99
 Grower's Edge® Digital Thermometer & Hygrometer
$39.99
Contact Info:
15374 103 A Ave, Surrey, BC V3R 7A2
Hours:
Mon – Fri: 8:00 – 16:30
COPYRIGHT © 2022 Pacific Northwest. ALL RIGHTS RESERVED.
MANAGED BY THE WP LAB. POWERED BY ELITEWEB.CO
You are being redirected to an informational site which educates people on how to Cultivate Medical Cannabis in Canada.
Hours: 9am – 6pm
Hours: 9am – 5:30pm
Hours: 9.30am – 6pm
Hours: 9am – 6pm
Hours: 9am – 6pm
Hours: 9.30am – 6pm
Hours: 9am – 5.30pm
Hours: 9.30am – 6pm
Hours: 9am – 5:30pm
Hours: 9.30am – 6pm